Cutting wrecks
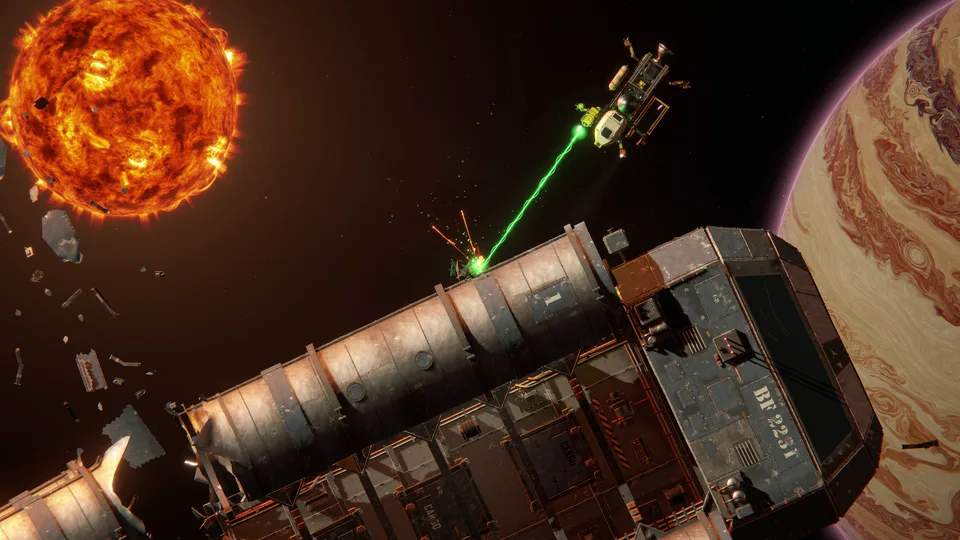
You cut a wreck apart with your mining laser, and the parts drop out once the hull round them is gone.
- Part drops at
- Half the hull round it gone
- Beam on a part
- -2.5% condition a second
- Scrap alloy
- 10 cr a unit
- Deep finds pay
- Up to 13 times
There are no clamps, valves or codes. Your mining laser cuts the hull, recoverable parts fall out of it, and your tractor beam pulls them into the hold. They sell at the refinery like ore.
Find the parts
A Survey Scanner pulse marks every recoverable part and every dangerous fitting of each wreck in reach, with amber brackets. Without one you can still cut: point at the hull and the crosshair says what you are on.
- Recoverable: a part, and what it is worth.
- Hull section: how long until it cuts free, and whether it will be scrap for the hold.
- Held fast: cut the plating round it to free what it holds.
Cut the hull round a part
Hold the beam still on one spot. The plating glows red, then orange, and then a hole opens and grows to about a metre and a half. Sweeping the beam about only warms the paint.
A part’s label counts what is gone: Cut the hull round it: 32% · drops at 50%. At half, it drifts free. Pull it in with the tractor.
Keep the beam off the part itself. Each second on it costs 2.5% of its condition, 1% with a Precision Cutter, and a part sells for its value times its condition.
Sections and scrap
A wreck is built of sections. Wear one through and it breaks away. A section up to 6 m across becomes scrap the tractor can take: scrap alloy at 10 cr a unit, or alien ceramic at 40 cr a unit. A piece no longer joined to the rest comes away by itself.
Where it pays
A part’s listed value holds near the station. Found deeper, it pays more: four times halfway across the belt, up to thirteen times at the far edge. The four ruins nearest Drift pay a tenth: Convoy Spine, Shattered Anchorage, Dead Sensor Garden and Last Docking.
Alien parts, alien ceramic and most relics are restricted cargo. Drift and the mining cooperative will not buy them, and patrols confiscate them.
Fittings that fight back
| Fitting | Cut it and |
|---|---|
| Oxygen tank | It vents a jet that shoves the wreck. Burst while full, it tears off and flies. |
| Fuel tank | The beam holes and heats it. Holed, it leaks dry and is safe. Heated too far while it still holds fuel, it sparks, sounds an alarm and blows 1.6 s later. |
| Battery bank | It shorts. Arcs jump to the hull and to any ship within 4.5 m. It drains and goes dark. |
| Mast, pod | It breaks off as scrap. |
A main fuel tank’s blast reaches 8 m. It damages ships, tears sections loose and sets off other tanks. Blowing one from a distance is a quick way into a wreck.
Steady a turning wreck
Hold the tractor on the hull, with no loose piece in reach, and it grips the spot. The pull is your Collector’s: 3.5 kN for the Tug’s Scrappy Collector, 40 kN with a Heavy Tow Rig. A small wreck settles quickly. A 400 t freighter hardly notices, and an anchored ruin pulls you in instead.
Huge wrecks
Battlefield ruins are hundreds of metres long and their sections tens of metres across. Holes still open them up and free their parts with any laser. Breaking a whole section off is another matter: past 10 m across it takes longer the bigger it is and the smaller your laser, and the crosshair says Too massive to cut free with this laser. A section that does come away drifts off slowly, far too big for any hold.
Some ruins keep loose pieces still on the move: a slab drifting across a gap, a gantry swinging, an arc turning. They follow the same path every time and shove whatever is in it. Watch one pass before you cut beside it.